Recipe
Ingredients
- 1.5 kilos of plain flour (approx.)
- 1½ cups of lukewarm water
- 1 portion of fresh yeast (approx. 40g, otherwise 1 tablespoon of active dried yeast)
- 6-8 tablespoons of caster sugar (plus one more teaspoon to mix in with the yeast)
- 2 eggs (plus one more egg white for the egg wash)
- 1 tablespoon of salt
- ¼ cup of sunflower oil
- Yellow and black food colouring (or 1 teaspoon of ground turmeric for yellow dough and 1 tablespoon of activated food grade charcoal for black dough)
- Baking “eyes” for the bees (or use sprinkles instead to make little eyes)
- Rolling pin
Method
Pour the water into a bowl, add the extra teaspoon of sugar and dissolve the yeast into the water. Once bubbles start to appear on the surface of the water, pour in about a third of the flour, followed by the two eggs, the rest of the sugar, the salt and the oil. Get your hands into the dough and combine the mixture, adding flour little by little as you go, until you get a big ball of dough which doesn’t stick to your hands. Sprinkle a clean work surface with flour and knead the dough about for 5-10 minutes, adding a bit of flour if it gets too sticky again.
Separate your kneaded dough into three roughly equally sized pieces of dough. If you’re using food colouring for your yellow and black dough, add drops of yellow food colouring to the first piece of dough and black colouring to the second piece of dough and mix in until the colour is evenly distributed (it might help to wear plastic gloves!). If you’re taking the natural colouring route, add the turmeric to the first piece of dough and the activated charcoal to the second piece of dough and mix in until the colour is evenly distributed. Leave the third piece of dough plain. Place each piece of dough in a separate lightly oiled bowl covered in cling film to rise for about an hour and a half or until they have doubled in size.
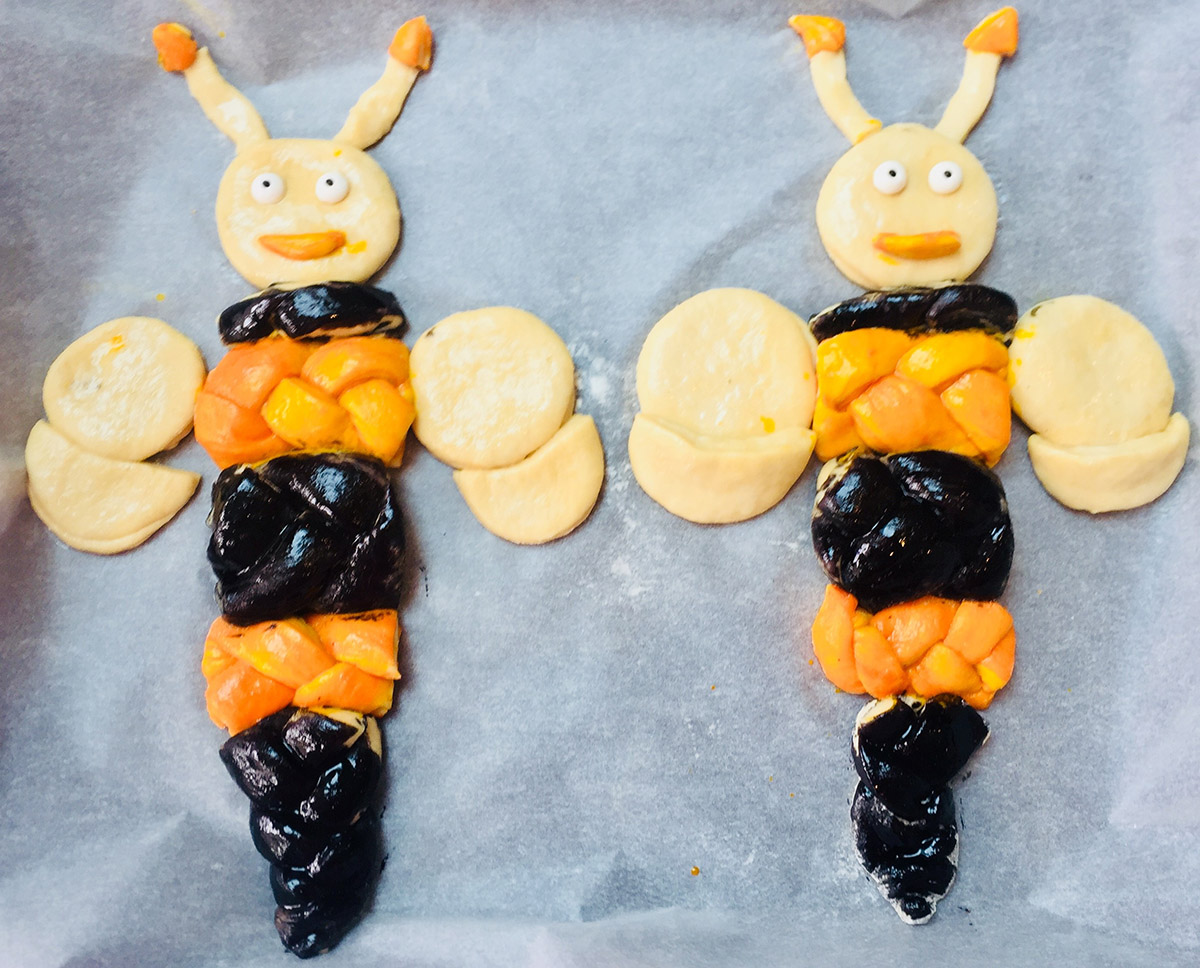
Roll out each of the three doughs on a floured surface with a rolling pin so that they are long and flat. Cut 6 long, thin strips of dough out of each of the yellow and black doughs using a knife (children should always ask an adult for help). Use 3 strips of dough at a time to plait usual 3 strand plaits of yellow and black dough (you should end up with 2 yellow plaits and 2 black plaits). Cut your yellow and black plaits into small pieces (each about 5-10cm long) and arrange them alternately on a baking paper (black, yellow, black, yellow, black) to make the body of your bee. Using an ordinary kitchen glass, cut out a circle of plain dough for the head, two circles of plain dough for a wing on each side of the bee and then one more circle of plain dough to be cut into semi-circles to finish the wings (one on each side). Cut two small strips of plain dough for the bee’s antennae and then a tiny strip of yellow dough for the bee’s mouth. Finally, add eyes for the bee using baking “eyes” or sprinkles.
Separate the egg white from your final egg into three portions (using egg yolk for the egg wash can make the finish a bit dark). Use the first portion of egg white to egg wash the plain dough head, wings and antennae. Add a few drops of yellow food colouring (or a pinch of turmeric) to the second portion of egg white and then egg wash the yellow sections of your bee. Then add a few drops of black food colouring (or a pinch of activated charcoal) to the third portion of egg wash and then egg wash the black sections of your bee. Adding the colours to your egg white should ensure the colours are visible even after baking.
Bake the challah for 25-30 minutes at 180 degrees at the bottom of the oven. You may need to cover the antennae, face and wings of your bee with foil after 15 mins if they are getting too dark and crispy.
About the Challah Mummy
Hi! I’m Allegra and I’m the Challah Mummy! Each week in my Challah Mummy Kitchen, my two children suggest a new, fun shape and we make it out of challah. We have made fire engine challah, red London bus challah, green turtle challah, blossom tree challah and even helicopter challah. Check out our Challah designs at @challahmummy on Instagram, challahmummy.wordpress.com or the Challah Mummy Facebook Page. I also run Challah Mummy Braiding Workshops from my home in North West London to teach children and adults how to make beautiful and unusual designs out of Challah. To book your space or find out more, please email challahmummy@gmail.com.
September 3, 2018